


Creating a personalized wooden baby sign for your nursery should feel exciting, not overwhelming. Many expectant mothers want beautiful, safe decor but worry about using the wrong materials or making mistakes that compromise safety. This guide walks you through an 8-step process that prioritizes your baby’s wellbeing while helping you craft a meaningful, durable sign. You’ll learn exactly which materials meet nursery safety standards and how to avoid common pitfalls that lead to splinters, toxic finishes, or structural weakness.
Table of Contents
- Choosing Materials and Preparing Your Workspace
- Step-by-Step Customization Process for Wooden Baby Signs
- Design and Personalization Techniques for Lasting Impact
- Safe Mounting and Installation in Your Baby’s Nursery
- Troubleshooting Common Mistakes and Ensuring Durability
- Timelines, Costs, and What to Expect From Your DIY Project
- Final Thoughts and Inspiration for Your Customized Wooden Baby Sign
- Explore Our Beautiful Custom Wooden Baby Signs
- Frequently Asked Questions
Key Takeaways
| Point | Details |
|---|---|
| Safe wood selection | Choose CARB2 or FSC certified hardwoods like maple, oak, or birch for non-toxic, durable signs. |
| Non-toxic finishes | Use only baby-safe paints and sealants to prevent harmful chemical exposure in the nursery. |
| Progressive sanding | Sand from 120 to 220 grit to eliminate splinters and create smooth surfaces for paint adhesion. |
| Simple font choices | Bold, thick fonts prevent breakage and maintain structural integrity better than delicate designs. |
| Proper mounting | Install signs away from cribs using secure hardware and routinely check for looseness as your child grows. |
Choosing Materials and Preparing Your Workspace
The foundation of a safe wooden baby sign starts with selecting the right materials. Recommended safe hardwoods like maple, oak, and birch with certifications ensure you’re not introducing harmful chemicals into your nursery. CARB2 certification guarantees low formaldehyde emissions, while FSC certification confirms sustainable harvesting practices. These hardwoods resist warping and provide the durability needed for a sign that will last through your child’s early years.
Your paint and finish choices matter just as much as the wood itself. Non-toxic paints and finishes suitable for babies include water-based acrylics, milk paints, and zero-VOC sealants. Avoid oil-based products or anything labeled with warning symbols. When shopping, look for certifications like AP (Approved Product) from the Art & Creative Materials Institute or explicit baby-safe labeling.
Safe Paint and Finish Options:
| Product Type | Safety Features | Best Use |
|---|---|---|
| Water-Based Acrylic | Zero VOCs, quick drying | Vibrant colors, lettering |
| Milk Paint | Natural ingredients, non-toxic | Soft matte finish |
| Beeswax Sealant | Food-safe, moisturizing | Natural wood preservation |
| Water-Based Polyurethane | Low odor, durable | High-traffic protection |
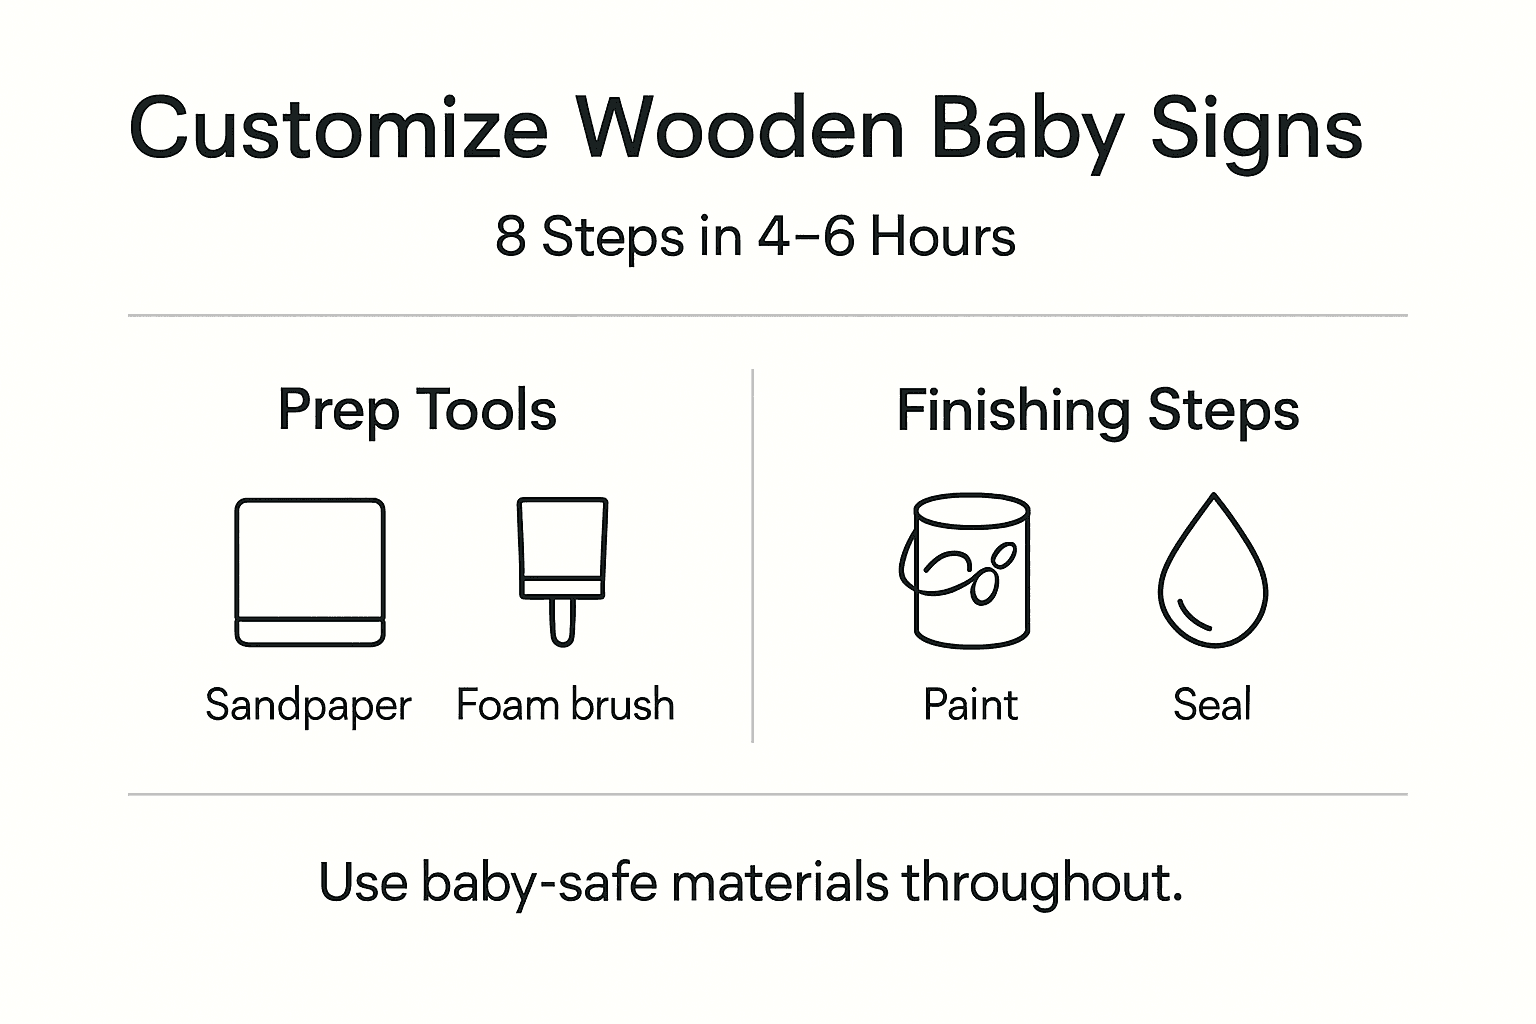
Assemble your tools before starting. You’ll need sandpaper in 120, 150, and 220 grits, foam brushes for smooth application, transfer paper or stencils for your design, and safety gear including a dust mask and eye protection. Understanding wood signage terminology helps you communicate effectively if you need to purchase additional materials or troubleshoot issues.
Pro Tip: Set up your workspace near a window or use a box fan to maintain ventilation, even with non-toxic products. Dust control matters for your health during sanding, so lay down a drop cloth and wear your mask consistently.
Step-by-Step Customization Process for Wooden Baby Signs
Transforming raw wood into a finished sign requires following a specific sequence. The stepwise process for making personalized wooden signs includes choosing wood, preparing the surface, designing, transferring the design, painting, sealing, and adding hanging hardware. Each step builds on the previous one, so skipping ahead or rushing creates problems you’ll need to fix later.
The 8-Step Process:
-
Cut and size your certified wood to match your design dimensions, leaving a 1-inch border around your planned text or graphics.
-
Sand all surfaces and edges starting with 120-grit paper to remove rough spots, then progress to 150-grit for smoothness, and finish with 220-grit for a baby-safe surface.
-
Create your design using digital tools or hand-drawn templates, keeping fonts bold and letters at least 2 inches tall for durability.
-
Transfer the design using graphite transfer paper for hand-painted signs or vinyl stencils for crisp edges.
-
Apply paint in thin coats, allowing 30 minutes of drying time between layers to prevent drips and achieve even coverage.
-
Seal with non-toxic finish once paint fully dries (usually 2-4 hours), using at least two coats of water-based polyurethane or beeswax.
-
Attach hanging hardware using D-rings or sawtooth hangers rated for your sign’s weight, positioning them one-third down from the top edge.
-
Final inspection and cure time, checking for rough spots and allowing 24 hours for complete sealant curing before hanging.
Our nursery personalization guide offers additional creative approaches once you master these basics. When painting wooden nursery signs, remember that multiple thin coats always outperform one thick application. Thick paint cracks as the wood naturally expands and contracts with humidity changes.
Pro Tip: Work on multiple signs simultaneously if you’re making several pieces. While one sign dries, you can sand or paint another, maximizing your efficiency and completing projects faster. Visit our collection of wooden sign crafting tips for more time-saving strategies.
Design and Personalization Techniques for Lasting Impact
Your design choices directly affect both aesthetics and durability. Simple, bold fonts withstand the test of time better than delicate scripts. Using inappropriate fonts with intricate or delicate designs increases the risk of breakage, especially on thinner wood pieces. Stick to sans-serif or thick serif fonts with letter strokes at least 0.25 inches wide.
Color coordination with your nursery theme creates visual harmony. Current trends favor soft neutrals, sage greens, and warm terracotta tones, but choose what resonates with your vision. Layer complementary colors for depth, starting with a base coat and adding highlights or shadows for dimension.
Personalization Method Comparison:
| Method | Precision | Cost | Skill Level | Durability |
|---|---|---|---|---|
| Hand Painting with Stencils | Moderate | Low ($15-25) | Beginner | Good with proper sealing |
| Vinyl Lettering | High | Moderate ($30-45) | Beginner | Excellent |
| Laser Engraving | Very High | High ($50-100+) | Advanced/Outsource | Permanent |
Laser engraving enables highly precise, permanent, and detailed personalization on wood signs. This technique burns designs directly into the wood, eliminating concerns about paint chipping or peeling. Many local makerspaces offer laser engraver access for hourly fees, making it accessible even if you don’t own the equipment.
Technique Overview:
- Layered painting creates dimensional effects by building up colors from dark to light
- Vinyl lettering provides professional-looking results without painting skills
- Laser engraving offers unmatched precision but requires equipment access or outsourcing
- Wood burning adds rustic charm and permanent detail for experienced crafters
Our DIY name plaque tips show you how to combine multiple techniques for unique results. Match your font size to wood thickness: use letters at least 2 inches tall on 0.5-inch thick boards, scaling proportionally for different dimensions.
Pro Tip: Test your design on scrap wood first. This practice run reveals spacing issues, color combinations that don’t work, or technique adjustments needed before you commit to your final piece.
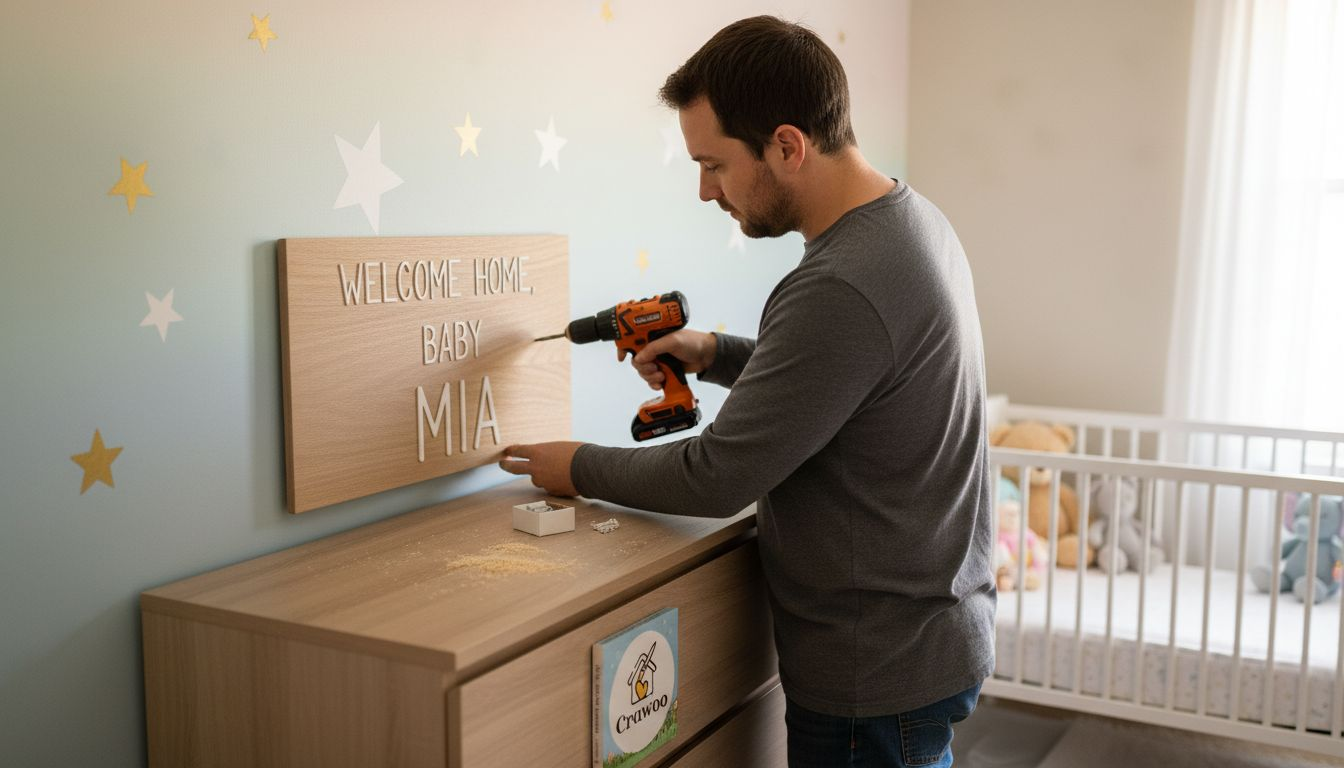
Safe Mounting and Installation in Your Baby’s Nursery
Proper installation protects your baby while showcasing your handcrafted sign. Heavy-duty picture hooks work for signs under 2 pounds, but use wall anchors and screws for anything heavier. D-rings and wire hangers distribute weight evenly, reducing stress on mounting points.
Safe Mounting Practices:
- Position signs at least 3 feet away from cribs to prevent falling hazards
- Avoid hanging above changing tables or other activity areas where babies reach and grab
- Use wall studs whenever possible for maximum stability
- Check that all edges remain smooth after mounting
- Test the installation by gently pulling to ensure it won’t dislodge
Secure installation requires finding wall studs with a stud finder or using appropriate anchors for drywall. Toggle bolts support up to 50 pounds in drywall, while molly bolts handle 25 pounds. Choose hardware rated for at least double your sign’s weight for an extra safety margin.
Our nursery-safe mounting options show various hanging styles that maintain safety standards. Consider command strips for lightweight signs under 1 pound, especially if you’re renting and need damage-free removal later.
Pro Tip: Schedule monthly safety checks of all mounted nursery decor. Gently wiggle signs to detect loosening, and immediately tighten or remount anything that shows movement. As your child becomes mobile, reevaluate placement to keep items out of climbing reach.
Troubleshooting Common Mistakes and Ensuring Durability
Even experienced crafters make mistakes that compromise safety or appearance. Common mistakes like inadequate surface preparation, use of toxic paints, and skipping sealing lead to unsafe or short-lived signs. Recognizing these errors early lets you fix them before installation.
Mistakes to Avoid:
- Using hardware store spray paint not rated for children’s items
- Rushing through sanding and leaving rough patches
- Skipping sealant application to save time
- Choosing delicate fonts on thin wood pieces
- Mounting with inadequate hardware
Bad font choices create structural weak points. Thin letter strokes snap easily when wood flexes or during accidental impacts. If you’ve already created a sign with delicate lettering, reinforce it by applying extra sealant coats or mounting it in a low-traffic area away from potential bumps.
Skipping proper surface preparation and sealing doesn’t just affect appearance. Unsealed wood absorbs moisture, leading to warping, paint peeling, and potential splinter formation that poses injury risks to curious babies who touch everything within reach.
Solutions for Common Issues:
- Rough surfaces: Re-sand with 220-grit paper and wipe clean before adding more finish
- Paint bleeding: Use primer before painting or seal stencil edges with clear coat
- Uneven color: Apply additional thin coats rather than one thick corrective layer
- Weak mounting: Upgrade to heavier-duty hardware and relocate to studs
Verify your finished surface by running your hand across all areas, especially edges. You shouldn’t feel any catches, splinters, or rough spots. Check paint adhesion by gently scratching with your fingernail in an inconspicuous area. If paint flakes off, you need additional sealant.
Our wood decor craftsmanship tips detail advanced troubleshooting for persistent issues. When in doubt, add another coat of sealant. Extra protection never hurts, but insufficient sealing creates ongoing problems.
Timelines, Costs, and What to Expect From Your DIY Project
Realistic planning prevents frustration and helps you schedule your project around other preparations. A typical DIY wooden baby sign takes 4-6 hours total including drying, costing $15-$60 depending on complexity. Breaking this into sessions works better than marathon crafting, especially during pregnancy when energy levels fluctuate.
Time and Cost by Complexity:
| Project Level | Time Investment | Estimated Cost | Key Factors |
|---|---|---|---|
| Beginner Stencil | 4 hours | $15-25 | Pre-cut wood, simple design, basic tools |
| Intermediate Hand-Painted | 5 hours | $30-45 | Custom cutting, multiple colors, detailed work |
| Advanced Laser Engraved | 6 hours | $50-100 | Design time, equipment rental, premium wood |
Your budget breakdown includes wood ($8-20 per board), paint ($5-15 for small bottles), sealant ($8-12 per can), and hardware ($3-8 per sign). Tool costs vary widely. If you already own basic supplies, you’ll spend less. First-time crafters might invest $40-60 in reusable tools that serve multiple projects.
Cost Influencing Factors:
- Tool ownership versus purchasing new equipment
- Wood quality and certification requirements
- Design complexity and color variety
- Outsourcing services like laser engraving
- Premium hardware for extra stability
Durability expectations depend on following proper finishing protocols. Signs sealed with quality non-toxic polyurethane last 5-10 years with normal nursery conditions. Beeswax finishes require annual reapplication but maintain that natural wood appearance many parents prefer. Factor in maintenance time when choosing your sealant.
Plan your project timeline around drying stages. Active work takes 2-3 hours, but drying time between coats and final curing adds another 2-3 hours of waiting. Starting your sign over two days accommodates these breaks naturally without feeling rushed.
Final Thoughts and Inspiration for Your Customized Wooden Baby Sign
Creating a personalized wooden baby sign connects you with your nursery in a tangible way. Each brushstroke and design choice reflects your hopes and dreams for your child’s space. Following the safety guidelines outlined here protects your baby while ensuring your handcrafted piece withstands years of use.
Don’t let perfectionism stall your creativity. Your first sign might have minor imperfections, but those quirks add character and prove it’s genuinely handmade with love. Experiment with different wood grains, color combinations, and personalization techniques to discover what resonates with your style.
The skills you develop making one sign transfer to other nursery projects. Consider creating matching pieces for shelves, doors, or toy boxes using the same materials and methods. Building a cohesive collection of custom wooden nursery signs ties your room’s aesthetic together beautifully.
Remember that the true value lies not just in the finished product but in the care and intention you invested. Every time you see that sign, you’ll remember the excitement of preparing for your baby’s arrival and the satisfaction of creating something meaningful with your own hands.
Explore Our Beautiful Custom Wooden Baby Signs
If you love the idea of personalized wooden nursery decor but prefer a professionally crafted option, explore our curated collection of handmade signs. Each piece in our custom wooden sign options uses CARB2 certified wood and non-toxic finishes, meeting the same safety standards outlined in this guide.
Our custom wood name signs come ready to personalize with your baby’s name, birth details, or meaningful quotes. We handle the craftsmanship while you focus on design choices that match your nursery perfectly. Browse our complete selection of wooden name signs for nursery decor to find pieces that complement your DIY projects or stand beautifully on their own.
Frequently Asked Questions
What types of wood are safest for baby nursery signs?
Maple, oak, and birch with CARB2 or FSC certifications are safest because they emit minimal formaldehyde and contain no toxic additives. These hardwoods resist warping and provide durability that ensures your sign remains intact and splinter-free throughout your child’s early years.
Are laser engraved signs safe and durable for nurseries?
Yes, laser engraved signs are extremely safe and durable because the design burns directly into the wood without paints or adhesives. This permanent marking method eliminates concerns about peeling, chipping, or chemical exposure, making it ideal for nursery environments where safety is paramount.
How can I ensure paint and finish are baby-safe?
Look for water-based paints and sealants labeled zero-VOC, non-toxic, or certified AP by the Art & Creative Materials Institute. Avoid products with warning labels, strong odors, or oil-based formulations, and always allow full curing time before installing signs in your baby’s room.
Where should I avoid hanging wooden signs in a nursery?
Never hang signs directly above cribs, changing tables, or within 3 feet of any area where your baby sleeps or plays. Position decor on walls away from climbing routes and ensure all mounting hardware can support at least double the sign’s weight for maximum safety.
Can I customize a wooden baby sign without special tools?
Absolutely. Basic stencil painting requires only sandpaper, brushes, and non-toxic paint available at craft stores. Vinyl lettering provides professional results without cutting tools, and many hardware stores cut wood to size for free or minimal fees, eliminating the need for saws or specialized equipment.
Recommended
Subscribe to Our Newsletter
Leave a comment