


Every parent faces the challenge of transforming a nursery into a space that reflects their family’s personality and welcomes their child. The right DIY project can make this process feel rewarding and fun, allowing you to craft something truly unique. Custom wooden name plaques become cherished keepsakes by combining thoughtful material selection and careful attention to design. This guide reveals how to create personalized nursery decor with confidence, blending creativity and practical steps for a memorable result.
Table of Contents
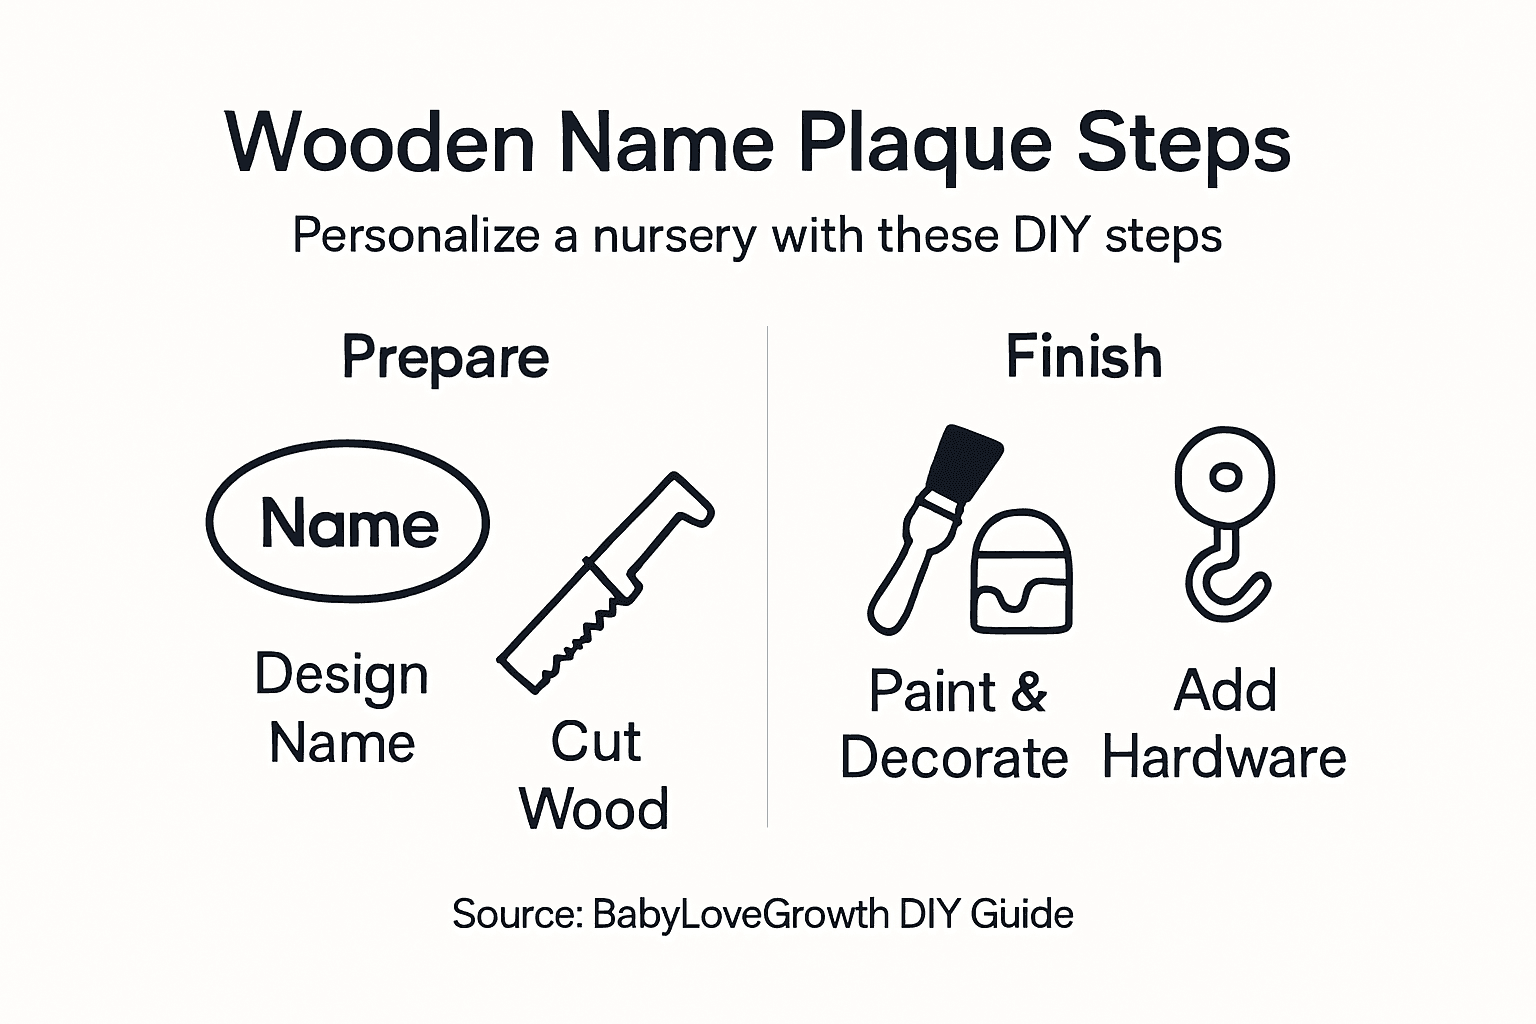
- Step 1: Gather Materials And Design The Name
- Step 2: Cut And Shape The Wooden Plaque
- Step 3: Paint And Decorate The Plaque
- Step 4: Attach Hanging Hardware And Inspect Quality
- Step 5: Display Your Finished Wooden Name Plaque
Quick Summary
| Key Point | Explanation |
|---|---|
| 1. Gather Essential Materials | Collect a wooden board, paint, brushes, and tools to start your personalized plaque project. |
| 2. Plan Your Design Carefully | Choose a readable font and create a layout on paper or digitally to ensure a balanced final product. |
| 3. Cut with Precision | Use the right saw for your design, double-check measurements, and follow safety precautions to avoid mishaps. |
| 4. Paint and Decorate Thoughtfully | Prime the wood, use consistent strokes, and opt for a color palette that complements your nursery. |
| 5. Ensure Secure Hanging | Select appropriate mounting hardware for the wall type and weight, ensuring your plaque is safe and stable. |
Step 1: Gather Materials and Design the Name
Creating a personalized wooden name plaque for your nursery starts with careful material selection and thoughtful design planning. You’ll want to gather the right supplies and map out a beautiful, memorable name presentation that will become a cherished piece of decor.
Begin by collecting your essential materials, which wood sign crafting experts recommend should include:
- Smooth wooden board or wood slice
- Acrylic paint in neutral nursery colors
- Paintbrushes (various sizes)
- Pencil or transfer paper
- Ruler or measuring tape
- Printer (optional)
- Stencils or letter templates
The design phase requires strategic thinking about font selection and layout. Choose a clean, readable font that matches your nursery’s aesthetic. Consider fonts that are soft and rounded for a baby’s space - avoid overly elaborate scripts that might be difficult to read.
Design preparation guides suggest measuring your wooden surface first and creating a light pencil grid to center your name perfectly. This ensures the final product looks professional and balanced.
Practice your design layout beforehand by sketching or using digital tools to preview how the name will look. Print out letter templates if freehand drawing feels challenging, which can help you transfer the design more accurately.
Pro tip: Practice transferring your design on scrap wood first to build confidence and refine your technique before working on the final piece.
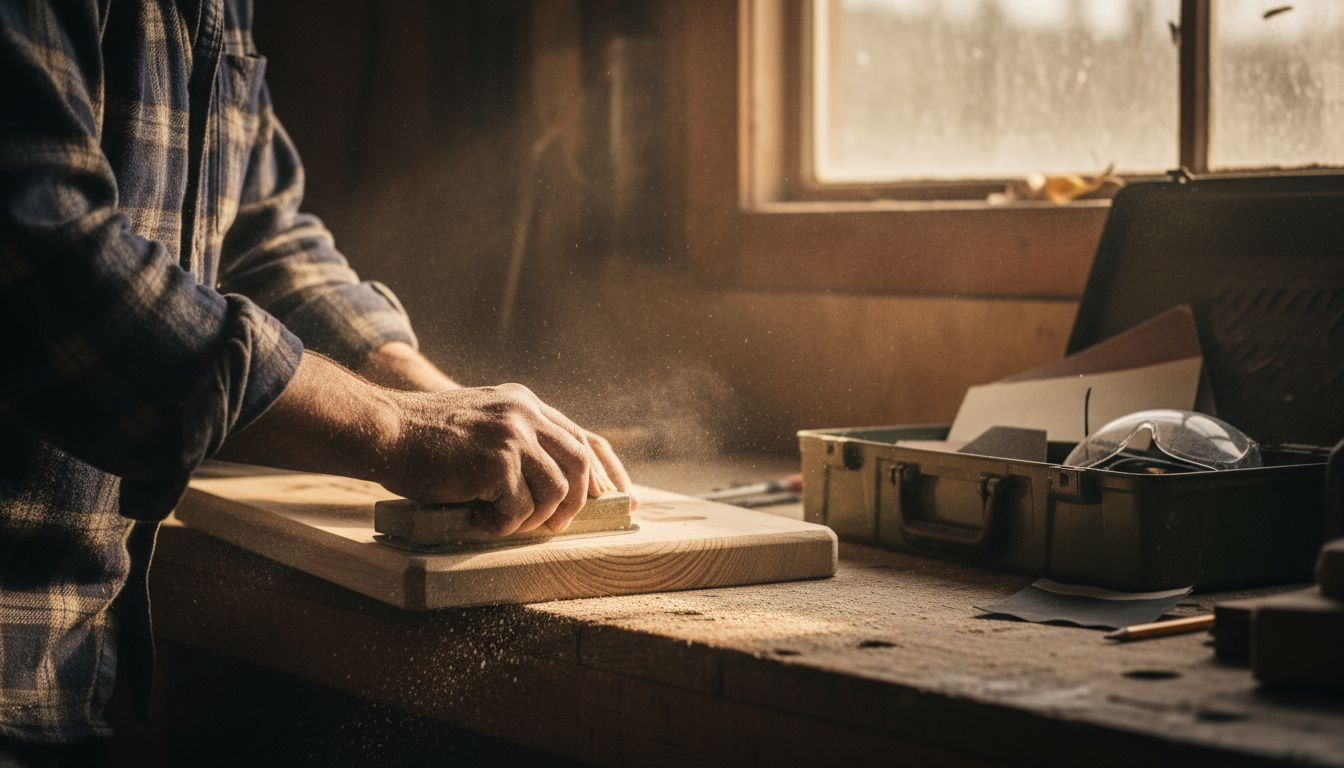
Step 2: Cut and Shape the Wooden Plaque
Now that you have your design ready, it’s time to transform your wooden board into a personalized nursery name plaque. Cutting and shaping the wood requires precision, patience, and the right tools to create a professional-looking final product.
Wood cutting techniques recommend selecting the appropriate saw for your specific wood type and design. Depending on your skill level and desired shape, you have several options:
Here’s a summary of recommended saws and their common uses for cutting nursery plaques:
| Saw Type | Best For | Complexity Level |
|---|---|---|
| Jigsaw | Curved or intricate cuts | Beginner to Intermediate |
| Scroll Saw | Detailed, precise shapes | Intermediate to Advanced |
| Miter Saw | Straight, angled edges | Beginner to Intermediate |
| Band Saw | Smooth, even cutting lines | Intermediate |
- Jigsaw (best for curved or intricate designs)
- Scroll saw (ideal for detailed cutting)
- Miter saw (perfect for straight, angled edges)
- Band saw (provides smooth, precise cuts)
Measure twice, cut once is the golden rule in woodworking. Before making any cuts, carefully mark your cutting lines using a pencil and ruler. If you’re creating a rectangular or square plaque, use a measuring tape to ensure your dimensions are exact.
Professional woodworking guides emphasize the importance of safety and technique. Wear protective eyewear and work gloves, and make sure your work surface is stable. Hold the saw firmly and move smoothly through the wood, allowing the saw to do the work without forcing it.
After cutting, you’ll need to smooth the edges. Use progressively finer grit sandpaper to eliminate any rough spots or splinters. Start with a coarse 80-grit sandpaper and work your way up to a fine 220-grit for a silky-smooth finish.
Pro tip: Always sand in the direction of the wood grain to prevent scratches and achieve a more professional-looking surface.
Step 3: Paint and Decorate the Plaque
With your wooden plaque cut and sanded smooth, you’re ready to transform it into a stunning personalized nursery decoration. Painting and decorating will bring your creative vision to life and make the name plaque truly unique.
Creative decorating techniques offer multiple approaches to customizing your wooden surface. You’ll want to choose materials and methods that complement your nursery’s color scheme and overall aesthetic. Here are some essential painting supplies:
- Acrylic craft paint
- Paintbrushes (flat and detail brushes)
- Foam brushes for smooth application
- Painter’s tape
- Clear sealant or Mod Podge
- Stencils (optional)
- Decorative elements like small embellishments
Prime the wood surface before painting to ensure better color adherence and a more professional finish. Apply a thin, even layer of white or neutral primer and let it dry completely. This step helps prevent the wood grain from showing through and creates a smooth canvas for your design.
When painting, use light, consistent brush strokes and allow each layer to dry thoroughly. For intricate name designs, consider using stencils or carefully applying painter’s tape to create crisp, clean lines. You might want to practice your technique on a scrap piece of wood first to build confidence.
Layer your colors and designs strategically. Start with base colors, then add details like shadowing, highlights, or decorative elements. Consider using complementary nursery colors or a soft, neutral palette that will grow with the child’s changing room style.
Pro tip: Use a hair dryer on low, cool setting to speed up paint drying time between layers, but keep the dryer at least six inches away from the surface to prevent paint bubbling.
Step 4: Attach Hanging Hardware and Inspect Quality
With your personalized wooden name plaque beautifully crafted, it’s time to prepare it for display in the nursery. Attaching hanging hardware requires careful consideration to ensure the plaque is secure and safely mounted.
Nursery plaque mounting experts recommend several hardware options for different wall types and plaque weights:
- Sawtooth hangers for lightweight plaques
- D-rings for medium-weight pieces
- Keyhole slots for flush wall mounting
- Wire hanging systems for larger name signs
- Heavy-duty adhesive hooks for delicate walls
Select hardware appropriate to your plaque’s weight and wall surface. For wooden name plaques, choose mounting solutions that can support the piece without damaging the wall or risking the plaque falling.
This table summarizes common nursery wall surfaces and the most suitable hanging hardware for each:
| Wall Surface | Recommended Hardware | Main Advantage |
|---|---|---|
| Drywall | Sawtooth hangers, D-rings | Easy installation |
| Plaster | Keyhole slots, wire systems | Distributes weight evenly |
| Brick or Masonry | Heavy-duty adhesive hooks | Avoids drilling |
| Painted Wood Panel | D-rings, wire systems | Secure and stable mounting |
Professional installation guides suggest testing the hardware’s stability before final installation. Perform a gentle shake test to ensure the hanging mechanism is firmly attached. Mark your wall mounting location carefully, using a level to guarantee the plaque will hang straight.
Inspect every aspect of your finished project. Check for any paint imperfections, ensure the hanging hardware is securely fastened, and verify that the name is centered and clearly visible. This final quality check guarantees a professional-looking nursery decoration that will be cherished for years.
Pro tip: Use painter’s tape to create a template on the wall, marking exact mounting locations before drilling any holes to prevent unnecessary wall damage.
Step 5: Display Your Finished Wooden Name Plaque
Congratulations on creating a beautiful personalized wooden name plaque for your nursery. Now comes the exciting moment of showcasing your handcrafted masterpiece in the perfect location that highlights your creative effort.
Nursery design experts suggest several strategic placement options for maximum visual impact:
- Above the crib or toddler bed
- Near the room’s entryway
- On a feature wall with other decorative elements
- Centered on a blank wall space
- Alongside a bookshelf or changing area
Consider the child’s eye level when choosing the final location. Position the name plaque where it can be easily seen and appreciated, typically between 48 and 54 inches from the floor. This height ensures the plaque is visible to both children and adults.
Think about the surrounding decor and choose a spot that complements your nursery’s color scheme and overall design aesthetic. The name plaque should feel like an integrated part of the room, not an afterthought. Ensure the wall can support the plaque’s weight and that the hanging hardware is securely fastened.
A personalized name plaque isn’t just decor - it’s a cherished memory that will grow with your child.
Photograph your creation and share it with friends and family. These handmade pieces often become treasured keepsakes that spark conversation and celebrate your child’s unique identity.
Pro tip: Use removable mounting strips for easier repositioning and to prevent wall damage, especially in rental spaces or if you anticipate redecorating in the future.
Make Your Nursery Truly Special with Custom Wooden Decor
Crafting a personalized wooden name plaque by yourself can be rewarding but also challenging. From perfecting the cut and paintwork to securing reliable hanging hardware these steps require precision patience and the right tools. If you want to avoid the struggle of measuring cutting and decorating and still capture the warmth and charm of a handcrafted piece custom wooden decor from trusted creators can be the perfect solution. Imagine a beautifully finished plaque centered perfectly and ready to hang without any extra hassle or worries.
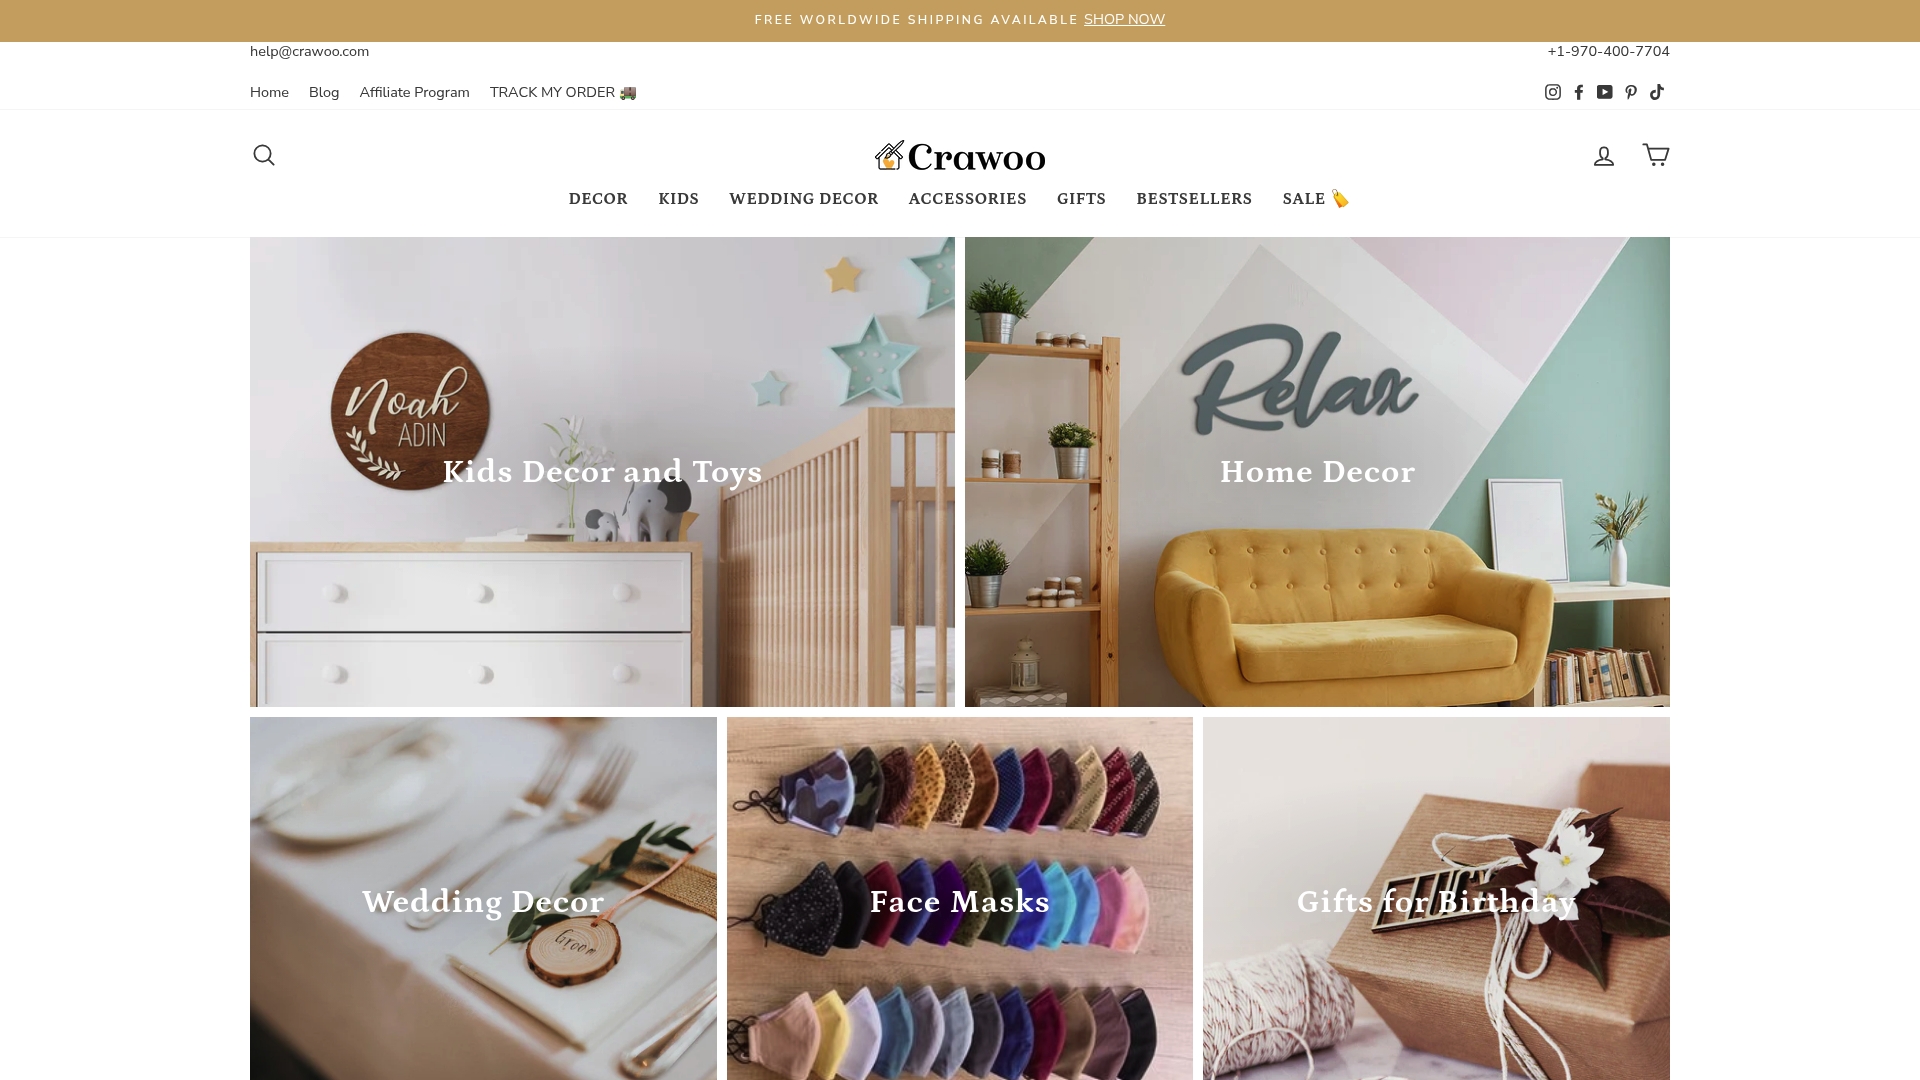
Explore how professional artistry meets heartfelt nursery personalization at Crawoo. Our custom wooden decor options bring your child’s name to life with flawless craftsmanship using quality materials that last through all of childhood. Designed with the same care as a DIY project but delivered ready to display Crawoo offers you the chance to add that unique loving touch without any stress. Order now to create a meaningful nursery centerpiece that celebrates your little one’s identity and grows with them. See more and start your nursery transformation today by visiting custom wooden decor for nursery and discover why personalized decor matters.
Frequently Asked Questions
What materials do I need for a Wooden Name Plaque DIY project?
To create a Wooden Name Plaque, gather a smooth wooden board or wood slice, acrylic paint, paintbrushes, a ruler, a pencil, and hanging hardware. Make sure to also have stencils or letter templates if needed, to ensure your design is clear and professional.
How do I choose the right font for the name plaque?
Select a clean, readable font that fits the nursery’s aesthetic, opting for soft and rounded styles for a baby’s space. Sketch different fonts or use stencils before finalizing, ensuring the name is visually appealing and easy to read.
What are the best cutting tools for shaping the wooden plaque?
A jigsaw is great for intricate cuts, while a miter saw is ideal for straight edges. Assess your comfort level and the design to choose the appropriate tool; for example, use a scroll saw for detailed shapes.
How can I ensure the paint adheres well to the wood?
Prime the wooden surface with a thin layer of white or neutral primer before applying paint. This step will create a smooth surface and improve paint adherence, resulting in a more polished final look.
What is the ideal height for hanging a name plaque in a nursery?
Position the name plaque between 48 and 54 inches from the floor to ensure it’s visible to both children and adults. Use a level to check that it hangs straight, maximizing its visual impact in the room.
How do I safely attach hardware for hanging my name plaque?
Choose hanging hardware based on the plaque’s weight and the wall material—sawtooth hangers work well for light plaques, while keyhole slots are better for stability. Mark your mounting spots carefully and perform a gentle shake test after installation to ensure it is secure.
Recommended
Subscribe to Our Newsletter
Leave a comment