


Choosing nursery decor is one of the first joyful steps in preparing for your baby’s arrival, but finding items that feel safe and truly personal can feel overwhelming. With your little one about to spend countless hours in this special space, every detail matters. Non-toxic finishes and solid hardwood construction set the foundation for a wooden name sign that’s both beautiful and safe—helping transform the nursery into a warm, inviting haven filled with meaning and lasting style.
Table of Contents
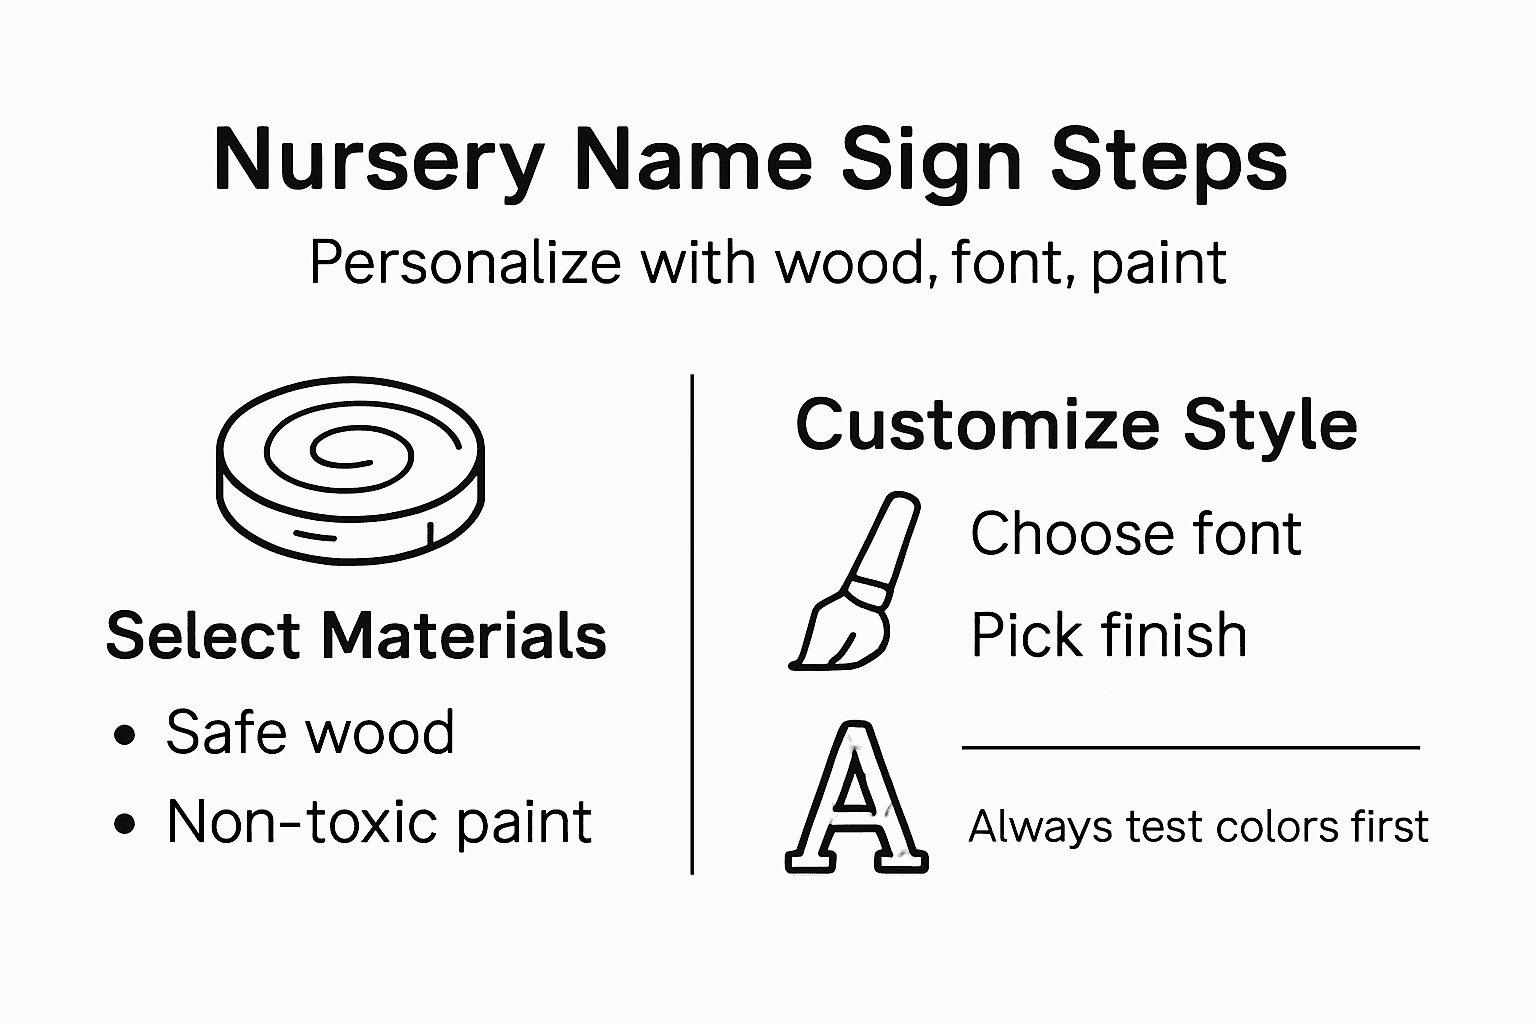
- Step 1: Select The Ideal Wood And Name Design
- Step 2: Customize Font And Finish For A Unique Look
- Step 3: Assemble And Paint Your Wooden Name Sign
- Step 4: Mount And Display Your Finished Sign Safely
Quick Summary
| Key Point | Explanation |
|---|---|
| 1. Choose Safe, Sustainable Wood | Prioritize non-toxic finishes and solid hardwoods like maple or oak to ensure safety and durability in your nursery decor. |
| 2. Personalize with Font and Finish | Select fonts that match your nursery theme, considering legibility and style for a unique, cherished keepsake. |
| 3. Properly Prepare and Paint | Smooth edges and use baby-safe paints, applying multiple thin coats for a vibrant, polished look on your sign. |
| 4. Securely Mount for Safety | Choose appropriate mounting methods based on wall type to ensure your sign is securely displayed and safe for your baby. |
| 5. Consider Aesthetics and Placement | Position the sign where it enhances visibility and ambiance while avoiding direct placement above the crib for safety. |
Step 1: Select the ideal wood and name design
Choosing the right wood and design sets the foundation for a personalized nursery sign that’s both beautiful and safe for your baby’s room. This step involves understanding wood quality, finishes, and design styles that align with your nursery theme.
Start by prioritizing non-toxic finishes and solid hardwood construction. Look for wood that has been treated safely, avoiding any synthetic coatings containing VOCs (volatile organic compounds). When shopping, search for labels that indicate CARB2 or FSC-certified wood to ensure lower emissions and responsible sourcing—this matters because your little one will spend countless hours in this space.
Here’s a quick reference for safe and sustainable wood certifications commonly used in nursery signs:
| Certification | Key Benefit | Typical Usage |
|---|---|---|
| CARB2 | Low formaldehyde emissions | Furniture, nursery décor |
| FSC | Sustainably sourced wood | Eco-friendly nursery products |
| Greenguard | Certified for low chemical emissions | Pediatric furnishings |
| SFI | Promotes responsible forestry | Wood signs and paneling |
Consider these wood qualities for nursery signs:
- Durability: Solid hardwoods like maple, oak, or birch resist warping and last through childhood and beyond
- Safety: Smooth finishes with no sharp edges or loose parts that could pose hazards
- Aesthetics: Natural wood grain provides warmth and a timeless look that complements any nursery style
- Eco-friendly sourcing: Sustainably harvested wood supports responsible forestry practices
Next, explore design options that fit your vision. Wood name signs range from large statement pieces to layered or rounded designs. Think about where you’ll mount the sign—above the crib, on a wall near the changing table, or as a gallery wall accent. Your nursery theme should guide your choice, whether you’re drawn to rustic, modern, minimalist, or whimsical aesthetics.
Personalization goes beyond just the letters. Consider adding decorative elements like woodland animals, floral accents, or geometric patterns that reflect your family’s personality. The handcrafted design options available range from simple block letters to intricate carved details.
Color and finish matter too. Natural wood stains showcase the grain, while painted finishes offer more color flexibility. If you’re choosing paint, ensure it’s non-toxic and baby-safe. Light finishes brighten small rooms, while darker woods add sophistication to larger nurseries.
The best wood signs balance durability, child safety, and aesthetic appeal—creating a lasting piece that celebrates your baby’s arrival.
Pro tip: Measure your wall space carefully and hold up mockups before ordering; a sign that’s too large overwhelms the room, while one that’s too small gets lost in the decor.
Step 2: Customize font and finish for a unique look
Now that you’ve selected your wood, it’s time to make the sign truly yours through font and finish choices. These customizations transform a simple wooden sign into a personalized keepsake that reflects your family’s style and your nursery’s aesthetic.
Start by exploring font options that match your vision. Fonts range from elegant scripts to bold block letters, playful hand-drawn styles to modern minimalist designs. Think about the mood you want to create. An ornate script suggests sophistication and grace, while a chunky sans-serif conveys modern simplicity. Your baby’s name deserves a font that feels right for your space.
Font selection matters for both beauty and legibility:
Compare popular font styles for nursery name signs:
| Font Style | Visual Impact | Best Room Theme |
|---|---|---|
| Script | Elegant, flowing | Classic or romantic |
| Block | Clean, bold | Modern or minimalist |
| Hand-drawn | Playful, unique | Creative or eclectic |
| Mixed | Dynamic, engaging | Transitional décor |
- Script fonts: Elegant and flowing, perfect for traditional or romantic nursery themes
- Block letters: Clean and contemporary, ideal for minimalist or modern decor
- Hand-drawn styles: Whimsical and playful, great for creative or eclectic spaces
- Mixed fonts: Combine styles for visual interest, like a decorative first letter with simpler remaining letters
Next, choose your finish. The finish dramatically impacts how your sign feels and functions in the room. Multiple finish options customize your sign’s look, from natural wood stains showcasing the grain to painted colors in soft pastels or bold hues. Consider layered 3D effects that add depth and dimension, catching light beautifully as your baby grows.
Color choices set the room’s tone. Soft pastels like pale pink, gentle blue, or soft sage create a calming atmosphere. Natural wood finishes work with any theme and age beautifully. Bold accent colors make the sign a statement piece that anchors your nursery design.
Think practically too. Light finishes show fingerprints and dust more easily, while darker finishes require less frequent cleaning. Matte finishes hide imperfections better than glossy ones. If you choose paint, confirm it’s non-toxic and baby-safe, especially if your little one might touch the sign.
The right font and finish combination transforms wood into a cherished keepsake that celebrates your child’s arrival while complementing your nursery design.
Pro tip: Request sample finishes or mockups before finalizing your order; seeing fonts and colors against your actual nursery walls helps you make confident choices that you’ll love for years.
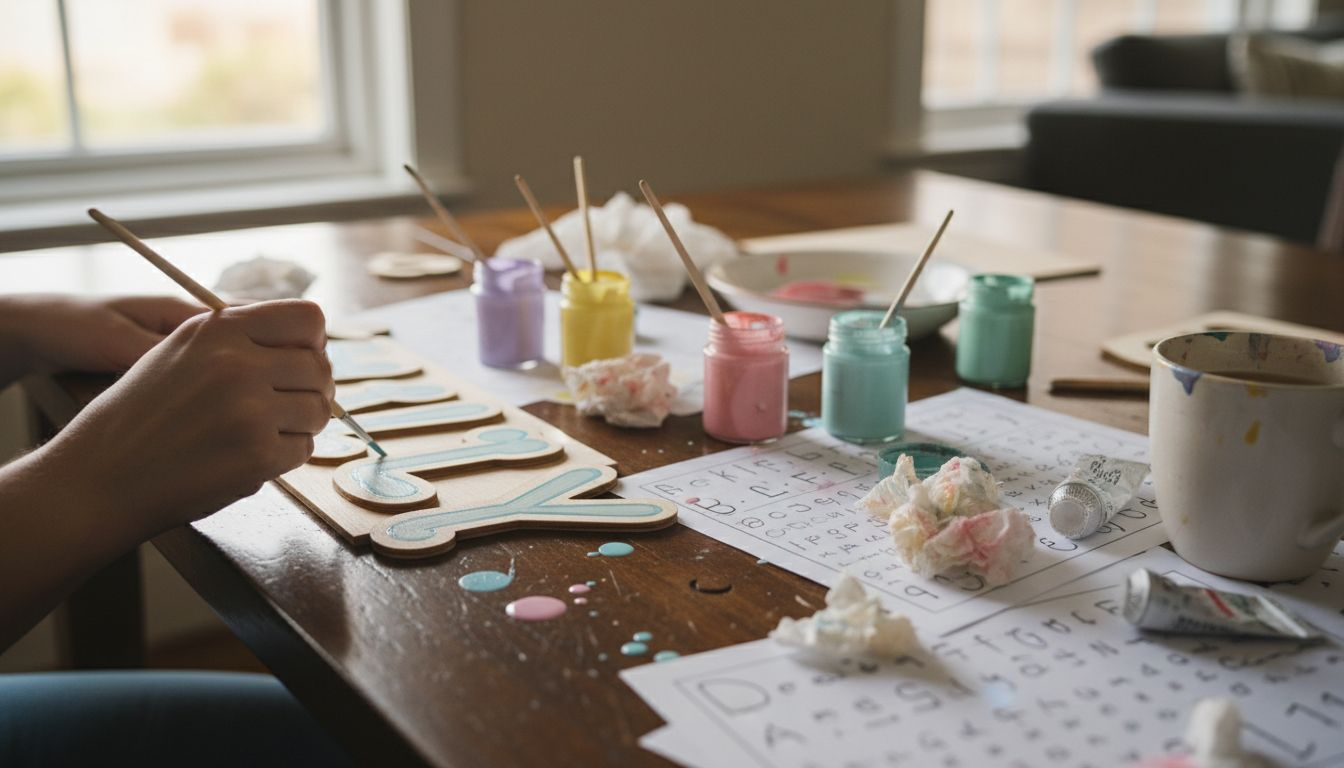
Step 3: Assemble and paint your wooden name sign
This is where your vision comes to life. You’ll transform raw wood pieces into a finished, painted sign ready to hang in your nursery. The process involves careful assembly, painting, and sealing to create a durable, beautiful keepsake.
Start by preparing your wood pieces. If you’re working with pre-cut letters or shapes, ensure all edges are smooth and splinter-free by sanding them thoroughly. Sand the surfaces gently to create an even texture that accepts paint well. For a custom shape, use appropriate saws to cut your wood to the desired dimensions, then sand everything until smooth.
The painting process follows these key steps:
- Apply a primer or base coat paint evenly across all surfaces, allowing it to dry completely
- Paint your letters or design with acrylic paint or wood stain, using thin, even coats
- Apply multiple coats as needed to achieve vibrant, opaque color
- Allow proper drying time between each coat to prevent streaking or smudging
When painting, work in a well-ventilated space and use baby-safe, non-toxic paints exclusively. Acrylic paints dry quickly and offer excellent color range. For stains, choose water-based options that emit low fumes. Consider your design carefully—paint letters on a stained background, or stain letters on a painted base, depending on your aesthetic vision.
Once your paint is fully dry, protective sealing ensures durability especially important in a nursery where humidity and temperature fluctuate. Apply a clear, non-toxic sealant over the entire sign to protect it from moisture, dust, and sticky fingers. Polyurethane or water-based polycrylic sealers work well for nurseries.
Allow adequate drying time after sealing before hanging the sign. Check that your paint and sealant are completely cured, usually 24 to 48 hours, depending on the product.
Patience with drying times and proper sealing protects your creation and ensures it remains beautiful as your child grows.
Pro tip: Test your paint colors on scrap wood first; nursery lighting can shift how colors appear, so seeing your actual shade on wood under your room’s light prevents color disappointment.
Step 4: Mount and display your finished sign safely
Your beautiful wooden name sign is complete and ready to find its perfect spot in the nursery. This final step involves choosing the right mounting method, securing the sign properly, and positioning it for maximum visual impact while keeping safety as the top priority.
Before mounting, prepare your wall carefully. Clean the wall surface thoroughly to remove dust, which prevents proper adhesion. Use a pencil to lightly mark where you want the sign centered, stepping back to visualize placement. Consider height and sight lines—you want the sign visible from the doorway and from the changing table, but positioned safely out of reach as your child grows.
Choose your mounting method based on your wall type and sign weight:
- Drywall with light signs: Heavy-duty mounting tape offers damage-free installation
- Textured walls: Mounting tape may not adhere well; consider alternative fasteners
- Heavy or larger signs: Finish nails or pushpins provide more secure, lasting support
- Plaster or brick walls: Use appropriate anchors designed for your wall material
When mounting, proper placement techniques ensure safe and lasting display. Press the sign firmly against the wall to create strong adhesion if using tape. For nailed installation, use small finish nails that won’t damage the wood or create large wall holes. Always ensure your fasteners can support the sign’s weight without sagging.
Think about your nursery’s layout strategically. Position the sign where it receives good natural or artificial light to showcase your paint work and design. Avoid placing it directly above the crib where it could fall. Keep it away from windows that experience extreme temperature fluctuations, which can warp wood over time.
Step back and admire your work once the sign is secure. Take photos to capture this special moment before your baby arrives—this personalized keepsake marks a milestone in your nursery preparation.
A properly mounted sign remains beautiful and safe, creating a lasting centerpiece for your child’s first room.
Pro tip: Use a level when marking placement to ensure your sign hangs straight; crooked mounting is surprisingly noticeable and detracts from your beautiful work.
Create a Lasting Memory With Custom Wooden Name Signs for Your Nursery
Designing the perfect nursery sign can feel overwhelming with so many choices for wood types, fonts, and finishes. This guide highlights key challenges like choosing safe, durable wood and finding a style that truly reflects your family’s personality. If you want a high-quality, toxin-free wooden name sign that balances beauty with child safety look no further than the expert-crafted options at Buy Wooden Name Signs for Nursery: Enjoy the Best Quality on Crawoo.

Bring your nursery personalization vision to life today by selecting from personalized wooden name signs designed to last through your child’s early years. Explore our full range of customizable designs at Custom Wood Name Signs: Personalized Wooden Name Signs for Any Occa… and find the perfect match that fits your nursery theme and safety standards. Start your journey toward a beautiful, safe, and meaningful baby room at https://crawoo.com now.
Frequently Asked Questions
What type of wood is best for a nursery name sign?
Choosing solid hardwoods like Maple, Oak, or Birch is ideal for durability and safety. Ensure it has been treated with non-toxic finishes to create a safe environment for your baby.
How can I personalize my wooden name sign?
You can personalize your sign by selecting a font that matches your nursery theme and adding decorative elements like animals or floral accents. Consider using colors and finishes that complement the overall design of the nursery.
What steps are involved in painting a wooden name sign?
The painting process includes priming the wood, applying thin coats of non-toxic paint, and sealing it for protection. Allow adequate drying time between each coat and ensure the sign is fully cured before mounting it.
How do I securely mount the wooden name sign in the nursery?
Use appropriate mounting methods like heavy-duty tape or small finish nails, depending on the weight of the sign and the type of wall. Ensure the placement is safe, avoiding areas directly above cribs or near extreme temperature zones.
What finishes work best for a nursery name sign?
Natural wood stains and non-toxic painted finishes are both excellent options, depending on the look you want to achieve. Soft pastels create a calming atmosphere, while bold colors can make the sign a focal point in the room.
How can I ensure the sign remains safe as my child grows?
Regularly check the sign for any loose parts or wear and tear, especially in high-traffic areas. Secure it well and ensure it is installed high enough to prevent any accidents as your child becomes more mobile.
Recommended
Subscribe to Our Newsletter
Leave a comment