


TL;DR:
- Personalized wooden gifts add meaningful and lasting nursery decor.
- Using non-toxic paints and a sticker/peel technique ensures crisp, safe results.
- Imperfections in handcrafted items add to their charm and heirloom value.
Setting up a nursery can feel like a lot of pressure, especially when you want every detail to feel meaningful and safe. Generic store-bought decor rarely captures what you actually want to say about your child. Personalized wooden gifts solve that problem beautifully, giving you something handcrafted, lasting, and completely unique. This guide walks you through every step of assembling your own wooden name blocks and decor, from gathering materials to adding final creative touches. Whether you’re a first-time parent or a seasoned crafter, you’ll find the process more straightforward and more rewarding than you might expect.
Table of Contents
- Gathering materials and preparing your workspace
- Step-by-step assembly of personalized wooden gifts
- Troubleshooting and avoiding common mistakes
- Personal touches and creative ideas for your nursery
- What most guides miss about assembling personalized wooden gifts
- Find or customize your perfect wooden nursery gift
- Frequently asked questions
Key Takeaways
| Point | Details |
|---|---|
| Safe materials first | Always choose non-toxic, child-safe paints and finishes for nursery gifts. |
| Easy assembly steps | Following a simple sticker and peel painting method ensures crisp, professional results. |
| Avoid common pitfalls | Sand blocks, use thin paint layers, and let each coat dry fully to prevent issues. |
| Personalize creatively | Customize with names, colors, and themed designs for a unique nursery touch. |
Gathering materials and preparing your workspace
Now that you know what to expect, let’s make sure you have everything you need and a safe space to work before starting the project.
Choosing the right materials is the single most important decision you’ll make before picking up a brush. For nursery projects, non-toxic and child-safe supplies aren’t optional. They’re essential. Paints, sealers, and adhesives all need to be labeled safe for children’s use, because little hands will eventually touch everything in that room.
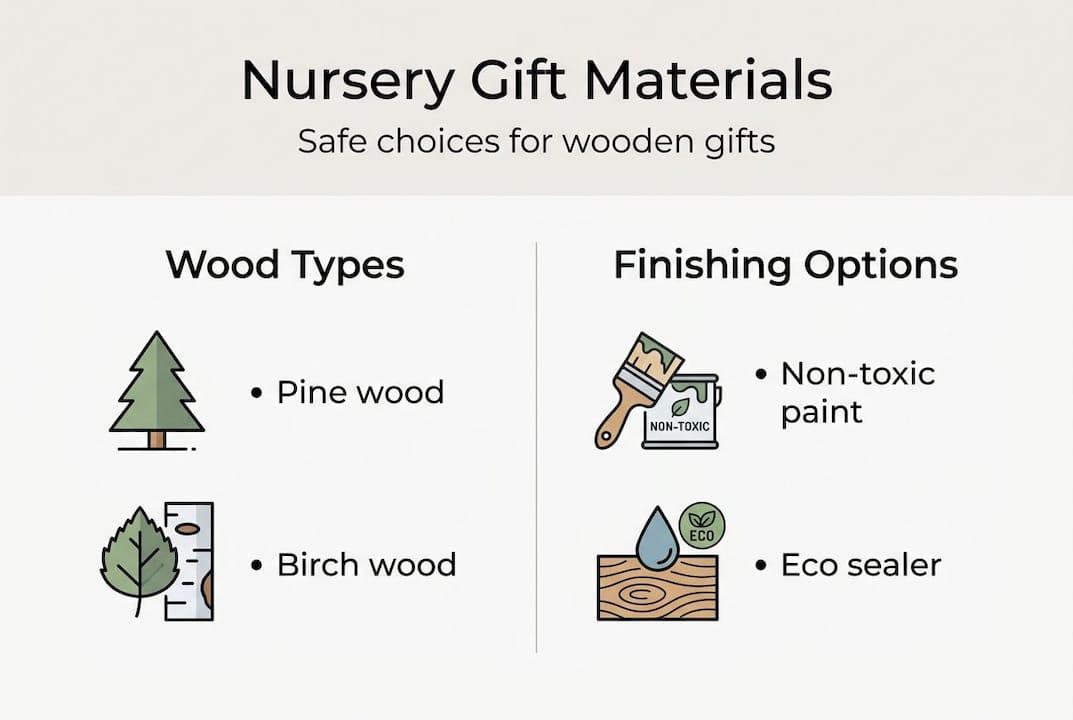
According to a popular wooden block DIY guide, 65mm pine blocks, tester paints, and glitter stickers are the core supplies for personalized wooden name blocks. Pine is ideal because it’s soft enough to sand easily, takes paint well, and is widely available at craft stores.
Essential supplies checklist:
- 65mm pine wood blocks (one per letter)
- Non-toxic tester pot paints in your chosen colors
- Gold or colored glitter letter stickers
- Fine-grit sandpaper (220 grit works well)
- Small flat paintbrushes
- A soft cloth for wiping dust
- A well-ventilated workspace or outdoor table
- Newspaper or a drop cloth to protect surfaces
Your workspace setup matters just as much as your materials. Work in a room with good airflow, or set up outside on a calm day. Keep all supplies out of reach of young children and pets during the project. A dedicated table covered with newspaper keeps cleanup simple.
| Supply | Purpose | Safety note |
|---|---|---|
| Pine wood blocks | Base for each letter | Splinter-free after sanding |
| Tester pot paints | Color and decoration | Must be non-toxic |
| Glitter stickers | Letter guides | Non-toxic adhesive only |
| Fine sandpaper | Smooth surface prep | Use before painting |
| Flat brushes | Even paint application | Wash thoroughly after use |
Pro Tip: Pre-sand every block before you open a single paint jar. Running 220-grit sandpaper across all surfaces removes rough patches and mill marks, giving you a smooth base that holds paint evenly. Wipe each block with a soft cloth after sanding to remove all dust before painting.
If you’re looking for inspiration on how finished pieces can look, browsing personalized nursery signs gives you a clear picture of the quality you’re aiming for.
Step-by-step assembly of personalized wooden gifts
With supplies ready, you’re set to create your personalized gift. Follow these steps for professional-looking results.
The process is simpler than it looks, and the sticker/peel method is the key reason why. Instead of trying to paint letters freehand (which is tricky even for experienced crafters), you apply letter stickers first, paint over them, and then peel them away to reveal crisp, clean letters underneath. This sticker/peel technique eliminates freehand errors and gives you sharp edges every time.
Step-by-step assembly:
- Sand each block thoroughly with 220-grit sandpaper. Wipe clean with a dry cloth.
- Apply your letter sticker firmly to the center of each block. Press down all edges so no paint can seep underneath.
- Paint the first thin coat over the entire block surface, including over the sticker. Let it dry completely (about 30 to 45 minutes).
- Apply a second thin coat for full, even color coverage. Thin layers prevent drips and bubbling.
- Let the second coat dry fully before touching the block. Rushing this step is the most common mistake.
- Carefully peel the sticker away at a low angle, pulling slowly and steadily to reveal the clean letter beneath.
- Touch up any edges with a fine brush if needed. Let the block dry one final time.
- Arrange and display your finished blocks on a shelf or in a name holder.
Freehand vs. sticker/peel method comparison:
| Method | Skill required | Result quality | Time needed |
|---|---|---|---|
| Freehand painting | High | Variable | Long |
| Sticker/peel technique | Low to medium | Consistently crisp | Moderate |
These blocks are also surprisingly affordable. At roughly $6 to $7 per block when using tester paints and basic supplies, a five-letter name costs under $35 to make yourself. For more ideas on designing name sign gifts, you’ll find plenty of layout and color inspiration to match any nursery theme.
If you want a ready-made version that skips the DIY steps entirely, baby shelf name blocks are a beautiful alternative worth exploring.
Troubleshooting and avoiding common mistakes
Even with clear instructions, small challenges can pop up. Here’s how to handle the most common ones.
Paint bleed is the most frustrating issue beginners face. It happens when paint seeps under the sticker edges, blurring the letter outline. The fix is simple: press sticker edges down firmly before you start painting, and always use thin coats. Multiple thin paint coats prevent drips and imperfections far better than one thick coat ever will.
Common mistakes and how to fix them:
- Skipping the sanding step: Paint won’t adhere evenly to rough wood. Always sand first.
- Applying paint too thickly: Thick coats drip, bubble, and take much longer to dry. Use thin, even layers.
- Peeling stickers too soon: If the paint isn’t fully dry, the letter edges will smear. Wait the full drying time.
- Using generic craft paint: Not all craft paints are child-safe. Check labels carefully for non-toxic certification.
- Ignoring rough edges after peeling: A fine brush and a tiny amount of paint fixes any small bleeds in seconds.
Pro Tip: If you notice a small paint bleed after peeling, let the block dry completely before touching it up. Trying to fix wet paint almost always makes it worse. Patience here saves you a lot of frustration.
Safety reminder: Always use paints, sealers, and adhesives that are explicitly labeled non-toxic and safe for children’s items. This is non-negotiable for anything going into a nursery.
For more nursery decor inspiration and ideas on how to style your finished blocks, it helps to see how other parents have displayed their completed projects.
Personal touches and creative ideas for your nursery
Once your blocks are ready, you can get creative with displays and finishing details, making your nursery decor truly personal.
The beauty of handcrafted wooden gifts is that no two are exactly alike. Once you’ve mastered the basic technique, you have total freedom to make each piece reflect your child’s personality and your nursery’s theme. Color choices alone can transform the same set of blocks into something completely different.
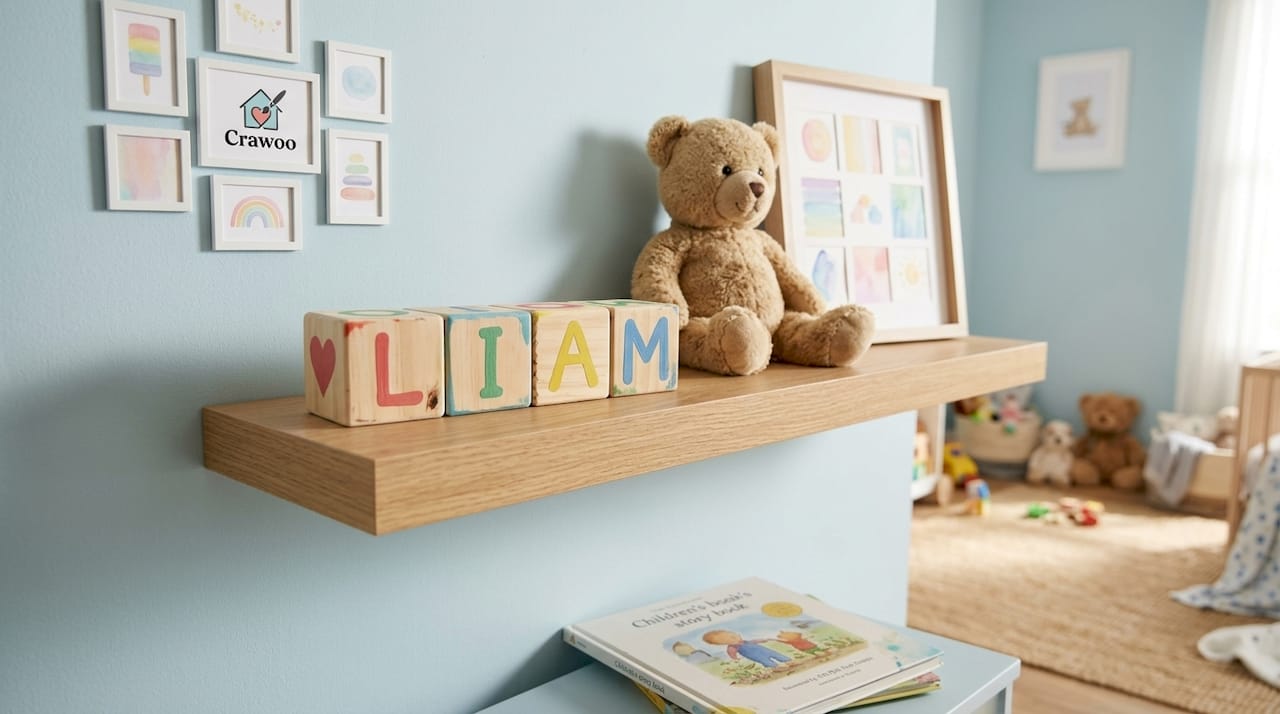
Displaying personalized wooden blocks in nurseries adds a handcrafted quality that store-bought decor simply can’t replicate. That uniqueness is exactly what makes these gifts so meaningful.
Creative personalization ideas:
- Paint blocks in a theme palette (woodland greens, pastel pinks, ocean blues, or neutral tones)
- Add gold or silver glitter accents around the letter for a special finish
- Use animal-shaped stickers or motifs alongside the name blocks
- Include birth date blocks or a short inspirational word alongside the name
- Mix painted blocks with natural wood-finish blocks for a modern, organic look
- Add a clear, non-toxic sealant coat for extra durability and easy cleaning
For mounting or displaying, a simple wooden shelf works perfectly. Arrange blocks in order, or stagger heights slightly for a playful look. Use museum putty on the underside of each block to keep them in place without damaging the shelf. This keeps curious toddler hands from knocking them over.
Pro Tip: If you have more than one child, make a matching set for each sibling using the same color palette but different accent colors. Displayed together in a shared room or play area, they create a cohesive look that still feels individual to each child.
For more custom nursery gift inspiration and unique wall art ideas, you’ll find a wide range of styles that pair beautifully with handmade blocks.
What most guides miss about assembling personalized wooden gifts
Most DIY guides focus entirely on technique and skip the part that actually determines whether a gift lasts. The finish you choose and the paint you use aren’t just aesthetic decisions. They’re safety decisions. A gorgeous set of blocks painted with uncertified paint is a problem waiting to happen in a nursery.
We’ve seen parents spend hours perfecting their painting technique, then rush through the final sealing step with whatever was on the shelf. That shortcut can compromise the whole project. Non-toxic, certified finishes protect both the wood and the child, and they also make the blocks far more durable over time.
The other thing guides rarely say is this: imperfection is part of the value. A slightly uneven edge or a brush stroke that’s visible up close is proof that a real person made this with care. That’s not a flaw. That’s what makes it an heirloom. Any parent, at any skill level, can produce something beautiful with the right prep and the right materials. The custom wooden sign ideas on our site show just how polished handcrafted work can look when the basics are done right.
Find or customize your perfect wooden nursery gift
If you loved assembling your own gift or want to discover more personalized options, here’s where to find or customize the perfect piece.
Not every parent has the time or setup to DIY from scratch, and that’s completely fine. At Crawoo, we handcraft personalized wooden nursery decor so you get that same meaningful, one-of-a-kind quality without the project prep.
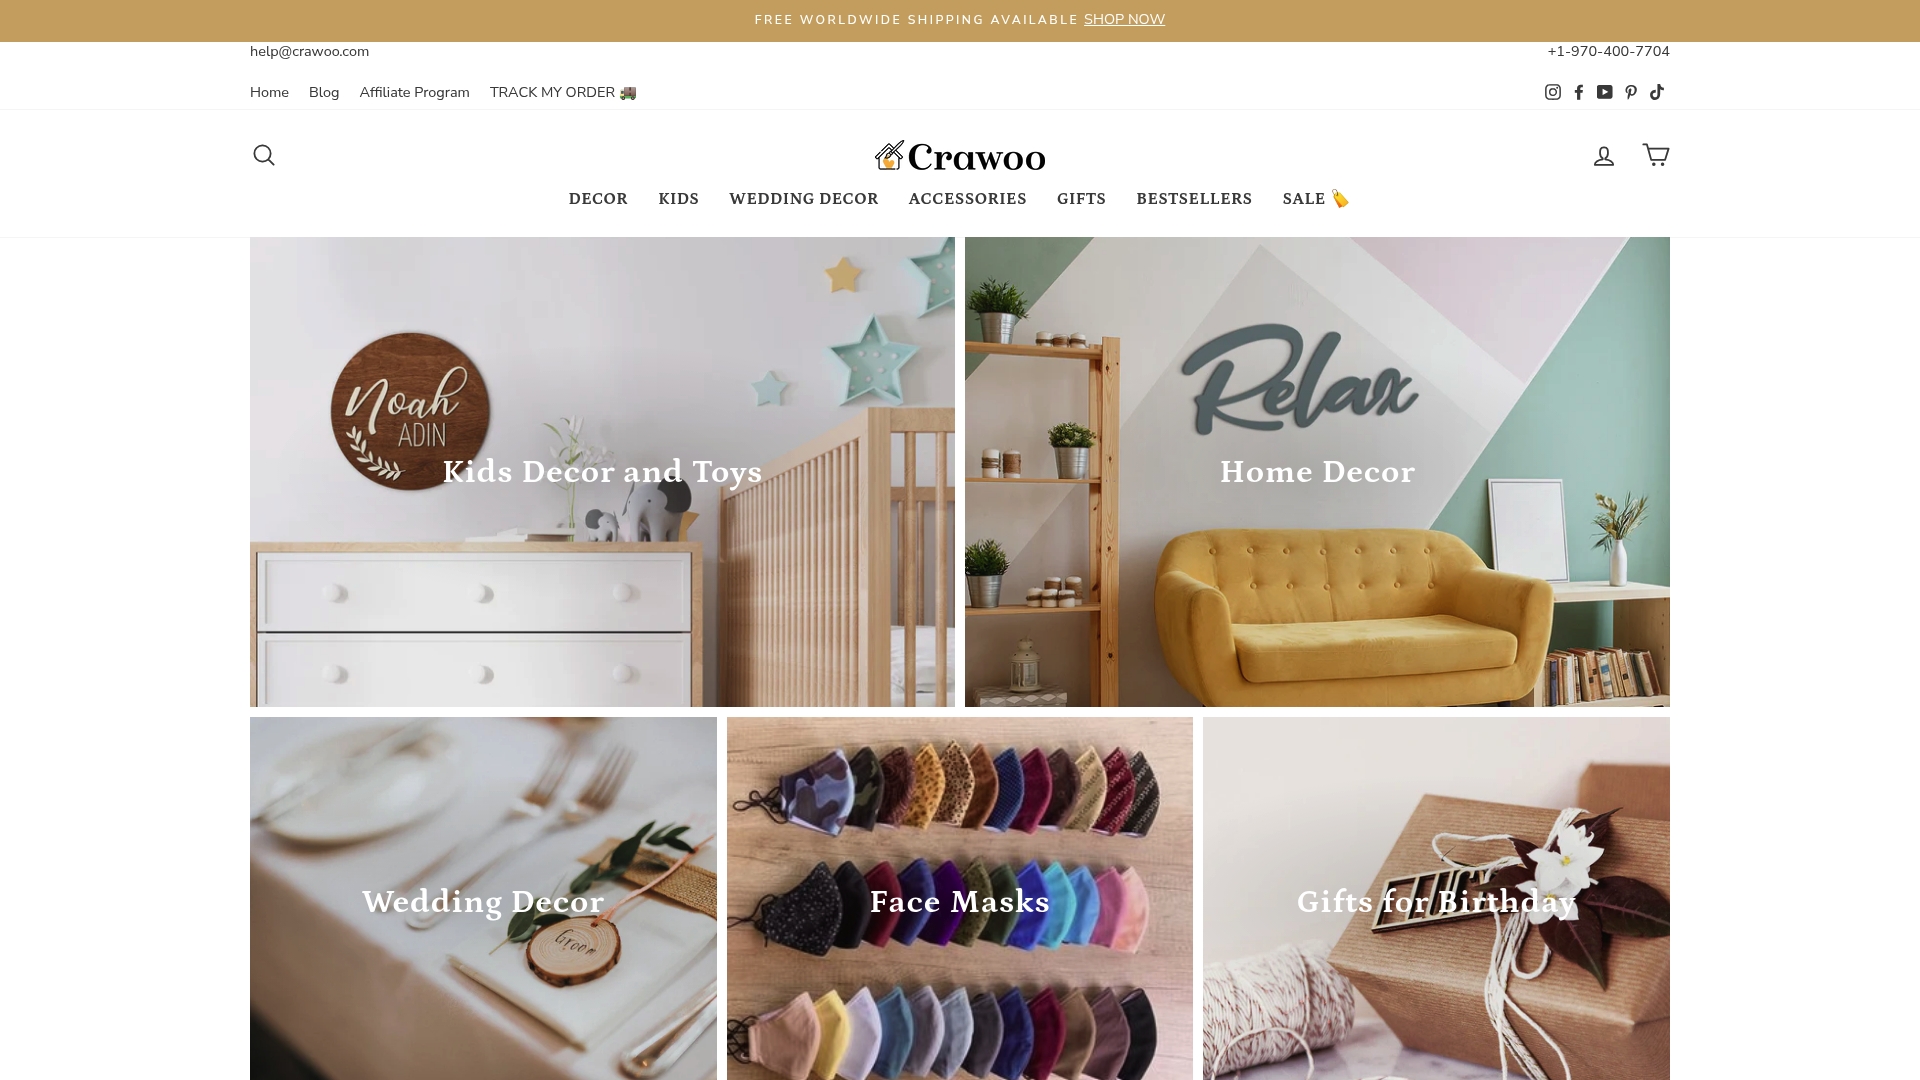
Explore our custom wooden nursery sign page to design something made just for your child. If you love a rounded, modern look, our round nursery name sign is a customer favorite. For something truly distinctive, browse our unique wooden nursery gifts for ready-to-order pieces that ship beautifully. Every item is made with child-safe materials and finished to last.
Frequently asked questions
What is the safest paint to use for nursery wooden gifts?
Choose non-toxic, child-safe paints and finishes labeled specifically for toy or nursery use. Look for certifications on the label before purchasing.
How can I avoid paint bleeding when making wooden name blocks?
Apply stickers firmly to seal all edges, then use thin paint coats and let each layer dry completely before adding another.
Can I personalize other wooden gifts with the same technique?
Yes, the sticker/peel technique works equally well for signs, shelves, and shaped wooden decor beyond name blocks.
What size wood blocks should I use for nursery name decor?
Standard 65mm pine blocks, roughly 2.5 inches, are ideal for most nursery shelf displays and fit standard letter stickers well.
Recommended
Subscribe to Our Newsletter
Leave a comment